
Previously I have cut slits in paper or card stock to make woven mats or adhered my beginning strips to a cut piece of card stock. Today though I am going to show you how to weave a mat using double sided tape. I already have my strips cut. I cut them on the same page as I was cutting out the stencil and panel I chalked on. You could cut the strips with a paper cutter.
Let's get started. You will notice my strips are white and that is because the color doesn't matter because I will be doing a heat embossing on them. Depending on how you are going to be doing your mat you may want to use pattern paper or different colors. You can even cut those photo that didn't turn out just right into strips. Especially if you have any from the before digital days. You can cut different width of strips or all the same size. Don't worry if you cut your strips too long as you can trim them. Better too long than too short. LOL! Don't ask me how I know. By the way this is an excellent way to use up scraps.


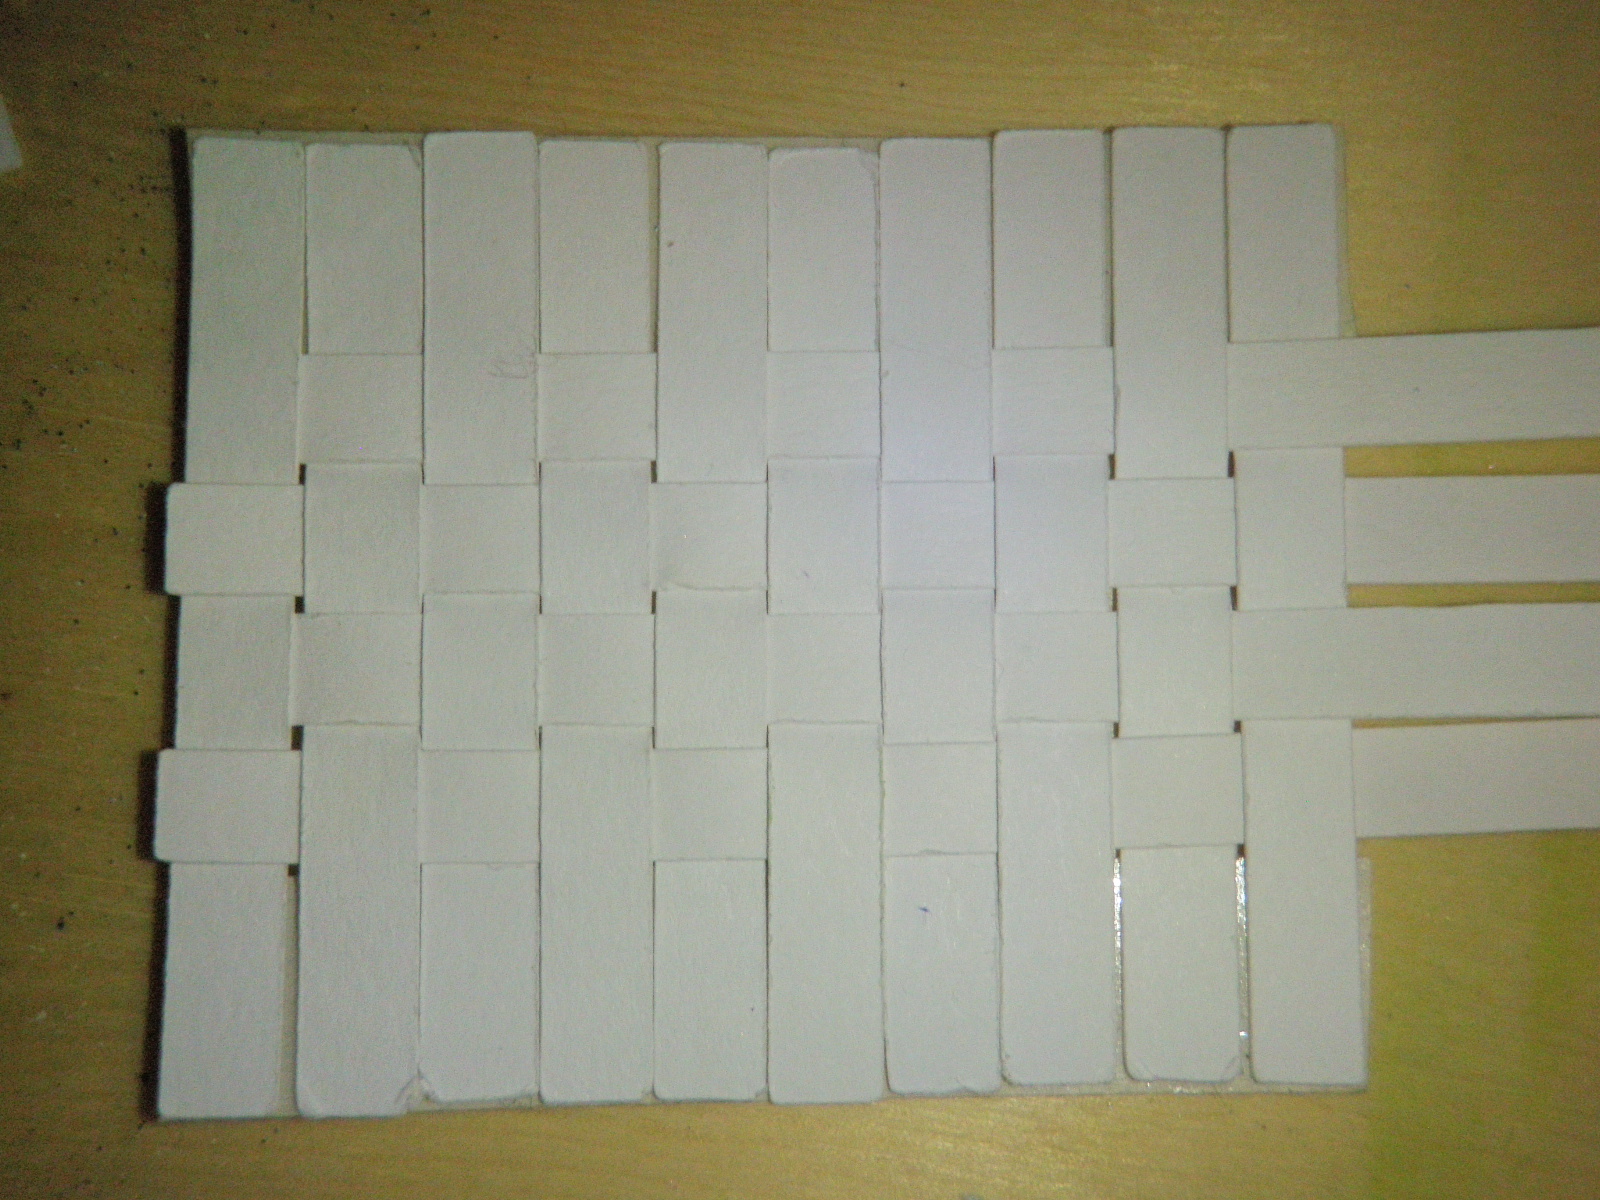
First cut your double sided tape the size you want your mat to be. Then start adding your strips on the sticky side. The other side of the tape should still have a backing. Once your strips are attached you are ready to weave. Normally I would leave a fringe on the ends but since this is going in the middle of the card panel and I didn't allow for a fringe I won't.

I went ahead and added double sided tape on the bottom on the back side. Then I went ahead and trimmed the ends.
Once your woven mat is done you can stamp on it and then use clear embossing powder. You can do like I am going to do and use ultra thick embossing powder.You can even stamp on it while the embossing enamel is still warm. Although you can use regular embossing powder you won't get the same look as using the embossing enamel. My suggestion is to play around and see which look you like better. By the way although embossing powder and enamel may seem expensive a little goes a long way.


Although I used the pigment embossing here. I actually prefer the VersaMark watermark pad. I ended up having to go back with the VersaMark after I heat embossed the first coat. I remembered then why I don't like to use the pigment embossing ink when I emboss.

Pour the embossing enamel on your mat ink side up. I use a tray which makes it easy to pour the excess back into the jar.
I would show you how to use the embossing gun but it takes both of my hands and I don't want to burn myself. I also can't walk and chew gum at the same time.
I hold my embossing gun several inches away. I keep the embossing gun moving. As soon as an area turns shiny it is time to quit in that area. You don't want to burn your project. Not that I have ever done that. LOL!


So what do you think? I would love to hear your comments.
Thank you for stopping by. Do come back as I think my next project will be adding dimension without adding flab. It may even be a Spring card as I'm more than ready for Spring.
Happy crafting!
No comments:
Post a Comment
Thank you for taking the time to leave a comment. :)