Sunday, February 26, 2012

The Cure For The Winter Blues

Over at Moxie Fab World there is challenge going on. If you go and check it out do be sure to come back here to see the card I made.  LOL!
http://www.moxiefabworld.com/2012/02/cure-for-winter-blues-challenge.html

I just happened to recently downloaded a graphic from Dover which I've been wanting to use. I normally don't craft using blue  or more of a monochromatic scheme so this is a change for me.

I know none of you do this but sometimes I get stuck. After getting the lady cut out and the background and frame for her my card still needed something. I played with tulle and I played with buttons. I finally decided to cut out some card stock and cover it with foil. Then I embossed with my Swiss Dots folder and colored with a  Royal Blue Sharpie Permanent marker.


LOL! The biggest challenge for me was gluing the narrow blue frame on. I don't know if this cured my winter blues but it was fun to do something a little different. Now if the weather clears up so I can get more ink for my printer I'll be happy. I've sure been doing a lot of print and cut lately.

Thank you for stopping by and do come back.

Wednesday, February 22, 2012

Interactive Card For Mason

Over at Monica's Creative Madness (see blog link on the right hand side)there is a blog hop  for Mason as well as a card challenge. The cards made for the challenge will be mailed to Mason and his family. There are links on Monica's blog about Mason and how you can help him and his family. I encourage you to make a card and join this challenge.

This was a challenge for me as I usually don't make cards for boys. Also I knew what I wanted to do but wasn't sure how I was going to do it. My brain got a workout figuring out how. I wanted to make an interactive card.

Here is the card I came up with. I am really pleased the way it turned out.


Yes the car really does move and really easily with my finger. The track is cut out of a scrap of black paper. I drew the track in Studio and forgot that the ends needed closed. LOL! So now  I have a couple of wavy pieces to use in another project.


The car is a print and cut. I added Mason's name on it. The picture doesn't really show it but the windows are coated with Dimensional Magic so they have a vinyl feel to them.

I didn't know what I was going to use for the sentiment and a couple of different things cropped up. Then I found the racing flag border and it was decided. I drew a oval around the border and added the sentiment. Once more a print and cut.

Thank you for stopping by. Do come back again and if you are having dreary weather like I am make something for someone else. I can guarantee it will lift your mood.

Monday, February 20, 2012

Sculpting Paper Play

Yes I am back to playing with gesso. There are times when a handmade faux paper really adds to a project.  So lets begin. What you will need:
  1. a napkin,paper towel, facial tissue or newsprint. Different papers produce different effects. As well as how heavy you apply the gesso
  2. foil
  3. gesso
  4. foam brush
  5. optional is watercolor,ink,food dye, acrylic paint,Diamond Glaze, Pearl Ex, etc.
Lay your foil out on your work surface with your paper on top. It doesn't matter if the foil has wrinkles in it. In fact you can recycle foil that you have wrapped non messy items in .If you are using two ply paper you would separate at this point if you wish. I usually separate paper towels because they are heavier. That way I can get two pieces of faux paper. Depending on how heavy I apply the gesso I can get some interesting looks.

In the past I have added soap dye or reinker to the gesso to tint it but today I am going to leave it white. You can also find gesso in black and perhaps in other colors I don't know.

Here I am ready to begin you can use any Gesso.

Put a big dollop in the center and work your way out. Always work out.


If your paper should tear don't panic

Add a paper patch and apply gesso  over it

I like to very lightly swirl my brush through the wet gesso. They won't show though when dry.

Now the waiting game begins. You want to make sure it is dry before adding the finishing touches to it. I place a heat lamp over it to help in the drying process. Still plan on it taking several hours to dry. Depending on the weather and how thick the gesso is applied  it may take eight hours or more.
Now it is dry and no longer glossy. You can see the ridges from the wrinkles in the paper and foil.

 Now the fun. I like to use watercolors in tubes as I can squeeze them on. You could use acrylics but I'm using metallic watercolors here. You can use ink instead of paint. You can add Perfect Pearls to water and paint that on. You can make a glaze out of Diamond Glaze and acrylic paint or instead of the paint Pearl Ex. (I have not tried my Dimensional Magic and paint so I'll have to get back to you on whether that will work. Same with Dimensional Magic and Perfect Pearls.)
 With a damp (not sopping wet) brush I blend the colors together and squeeze more from out of the tube.
I keep blending and mixing until I get something I like. No two pieces ever come out the same. Notice how the addition of color has caused the texture to really pop out.

Now it is waiting again for the paint to dry. You can speed up the process with a hair dryer. Once dry you can leave it like it is. Do make sure it is dry. I had to go and do some touch-up after taking the picture.

You could crumple up the paper first and smooth it before painting it. After the paint dries you can crumple it up and then brush acrylic paint,ink,etc. over it.  I like this the way it is so I'll be leaving it this way. Besides I don't want to risk messing up the paint.

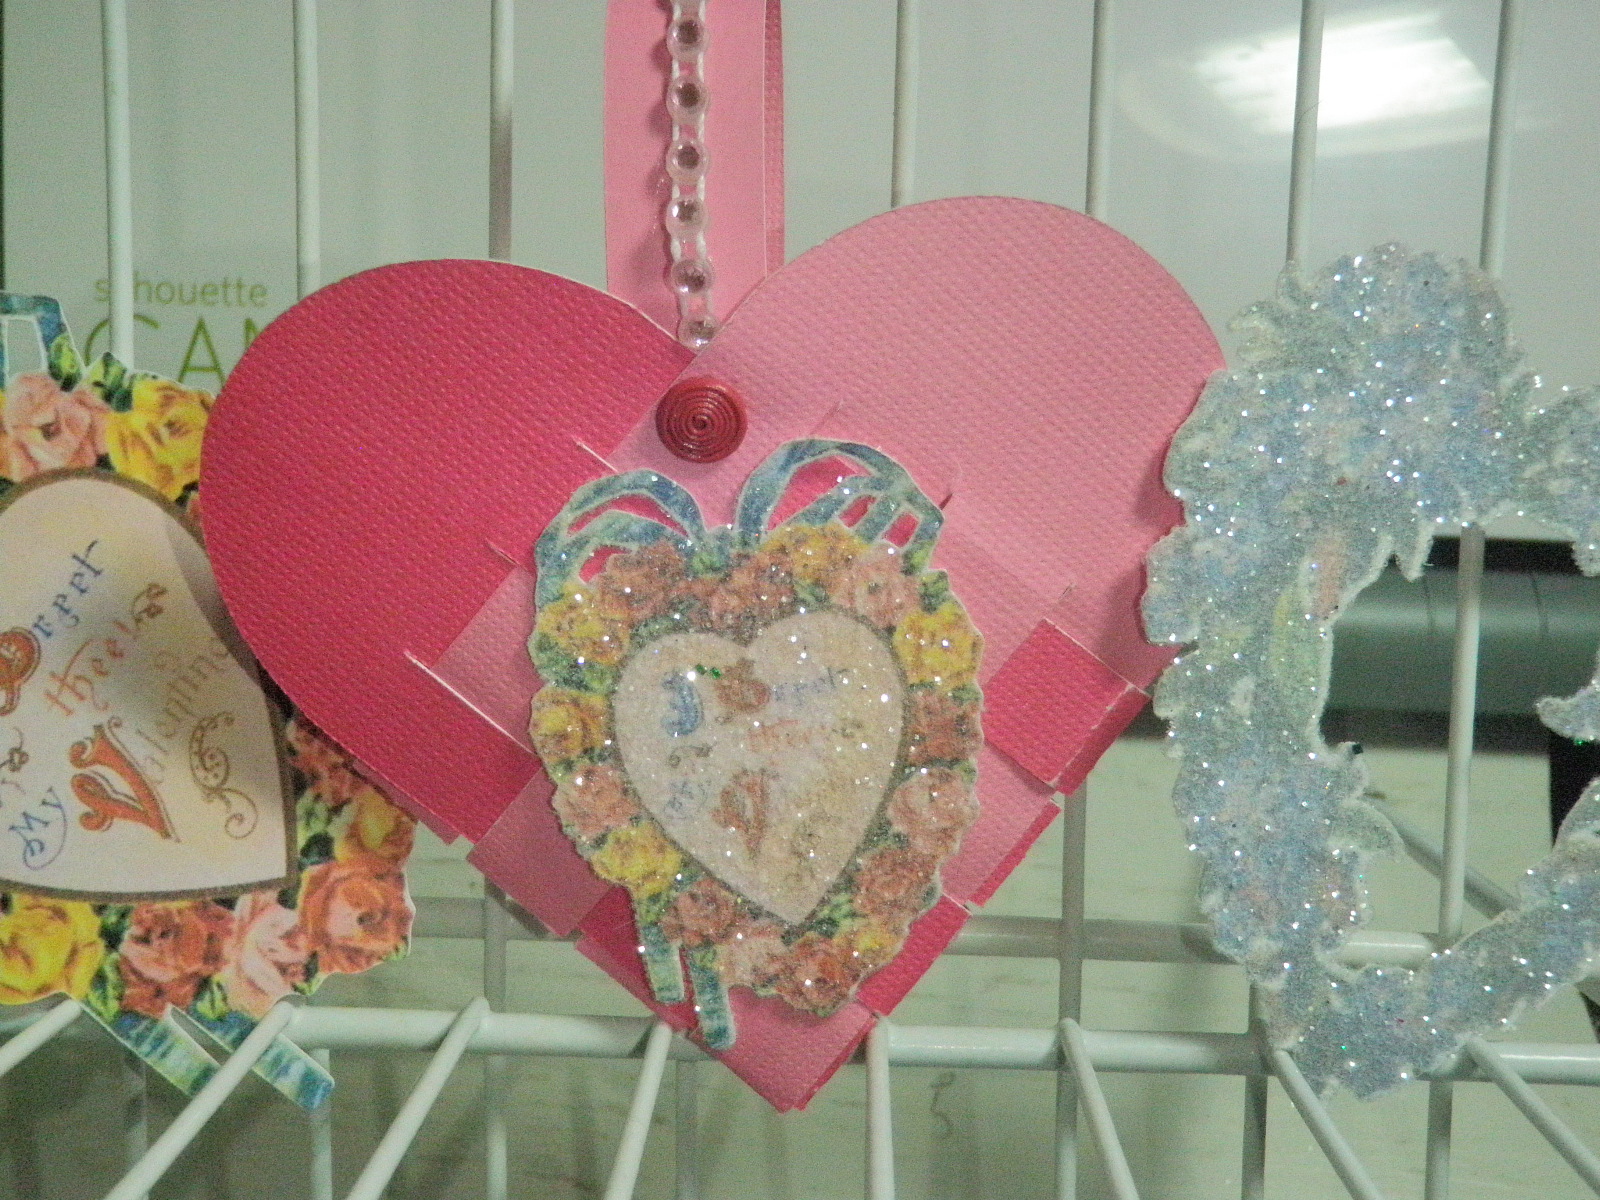
Here is the card I made using the texture paper as a background. If you fold  your paper  over card stock like I did here the gesso may show through where it is folded. Since I was using a frame it was no problem. The flower is a print and cut. I love how I can extract an element from an image in Studio. 

I have not tried to cut my faux paper out with a die or punch yet. You may want to experiment.

Have fun playing with making faux sculpted paper.  I'm sure you will see more of this sculpted paper used in other projects.

Thank you for stopping by. Do come back because you never know what mysterious,mad thing I may be doing next. LOL!


Saturday, February 18, 2012

Home Is Where The Heart Is ...A Card In The Making

I must confess this project has been on the back burner for several months now. I saw in a book a card made with a shuttered window. I wanted to do something similar but I wanted my window to be more like what you would see on a Summer cottage. I knew what I wanted but alas my drawing skills are on a preschool level. While looking through my tons of graphics (yes,I need to organize them) for Christmas graphics I found one with a frame I liked and thought might work . It traced with no problems. Then it was figuring out how to do the shutter part. I finally decided the easiest way would be to draw a rectangle and replicate it. Then since I have the Designer Edition of Studio to erase the side lines and draw lines and change the cut style to perforated. I think in the future I will forego the perforated lines as they had a tendency to want to tear.

Next challenge was figuring out how to have the shutter when open pretty much the same inside as it is outside. Also how to add  brads for knobs without the prongs showing really bad.  I decided to layer with the brad prongs being in between. I edged the window and shutters with Antique Linen and to add a richer color rubbed it over the cut out shape.  The frame is pop dotted on the card base.

To be honest I would cut the shape out of non-core card stock as it would be easier than trying to get the layers lined up. I think instead of having brads on the outside I would score the shutters so they were all the way open.

The sentiment was the easiest part. It is a print and cut. I didn't though want to leave the card stock white.  After it was cut out I decided  since my brads are green to use a sea sponge and Peeled green ink rubbed over it. Then I edged it with the Antique linen and rubbed that also on it.( I would test the ink you wish to use to rub over something already printed as some inks may cause whatever you printed to bleed.) I decided I didn't want to glue the sentiment on the card. Instead I found these cute spiral paper clips.

The scene behind the window is a print and cut on transparency film. Note to self set blade setting at least  two higher than recommended.

I know you were ready for the big reveal in the first paragraph. Ta Da! Was it worth the wait?


Unfortunately it is difficult to photograph transparency but it really looks like a window with the shine. The transparency film left over will be used in other play.

Over at the Silhouette Plus forum I am co-hosting a card challenge. Yes, this is my shameless plug here. It will run through the 28th of this month and there will be a prize. I would love to see what window card you come up with. The link for the forum  is on the right hand side of my blog. Under the challenge section there is a post with lots of inspiration if you are at a loss of what to do.

Thank you for stopping by. I am going to play with sculpting paper so do come back and see what I come up with. Lol! Hopefully the card I make won't take me as long as this one.

Have a fun crafting week!

Thursday, February 16, 2012

Calendar Birthday

I don't know why but I seem to have a difficult time making masculine cards. Anyway a friend has a birthday next week and I have been procrastinating making a card. Then I saw a birthday card using a calendar page image on a blog and decided to use that idea.


I took my calendar graphic and traced it in Studio. Then I drew a square on the calendar so it would cut out a section. I drew a slightly larger square on my work space and filled it with the birthday pattern and adding the text which I filled in, This was glued on the other side of the calendar with the image facing out. The calendar was then pop dotted on my card front. The banner is made from tiny tags that I sketched the letters on. They were then glued on craft floss and adhered to the card.

Oh yes I am loving the print and cut of my Cameo. It is so easy to make a pattern image when you don't have pattern paper.

Thank you for stopping by. Do come back.

Sunday, February 12, 2012

Swept Off Feet Tag Card Valentine

Right now there is a tag challenge going on for Silhouette users. http://www.monicascreativemadness.com/ The challenge is to use a tag,a scallop shape,a button,and have a valentine theme. This inspired me to come up with a unique valentine card.
To make this card I opened the tag that came in library with the software. Duplicated and welded to make a card. I took a scallop circle file and resized it to an oval. This is cut from Pirate Stripes by Sandy Lion. I bought an assortment of paper not knowing what was in the pack. Figured for eight cents a piece for 12x12 I could not go wrong. The broom came from a page of valentine clipart that was free from Dover. I cropped it in Paint.Net and copied it and pasted it in Studio. Then traced to make my Print and Cut. I am having so much fun that I am going to have to buy more ink. The piece of trash was torn from the results of an experiment using paper towels,glue, and food coloring. I waited too long to sprinkle glitter on the paper. The heart is a free heart file from the library. Just resized and buttons from my stash glued on. The thread in the buttons was from a scrap of floss I had lying around. The ribbon is from my stash from a dollar store. I decided to go neutral as I really didn't have a color that I liked. I didn't feel like coloring ribbon with ink or markers.

Thank you for stopping by today and do come back. I'm not sure what I'll be doing next but I'm pretty sure I am through with doing Valentine stuff. Have a wonderful crafting week!

Saturday, February 11, 2012

Tiskit Tasket Vintage Basket And A Bookmark

After seeing my prototype woven basket a friend asked me to make one for his Mother. (See previous post for video on how to make the basket as well as where to find a template.) I used card stock which was textured on one side. However, next time I will not use core card stock. A lighter card stock would be easier to work with.


The vintage graphics are from Dover. I did a print and cut using Studio. I sprayed adhesive spray and sprinkled some Martha Stewart coarse crystal glitter on the images. I am loving the look of the glitter over certain images.  I glued on the handle I made from a scrap Simplicity gem ribbon. Although it is suppose to be self adhesive it doesn't really stick. The handle is attached with  Karen Foster coil brads. Now all my friend needs to do is buy his mom's favorite candy and he is good to go.

While I was doing print and cut I also decided to make this bookmark for my friend's mom.


This is a freebie image by Wendy Tunison for those who subscribe to her email. You can go to her site and under the Crushes and Kisses post find a bunch of delightful freebies as well as a couple of other bookmarks.
http://inkinandthinkin.typepad.com/inkin_thinkin/ I went ahead after tracing and did a rounded offset in Studio to make the mat. I need to laminate it and then add some cording which I have.

What projects have you been doing to show you love?

Thank you for stopping by and do come back again.

Tuesday, February 7, 2012

Woven Heart Play

After much trial and tribulation I finally made a woven heart basket to share with you. Between Senior moments and templates not working out right it took me some doing. To save you all that trouble if you wish to make a heart basket the template is listed down below and you will notice a video which is probably blaring at you when you opened this page. I didn't have double sided paper and this was just my prototype.


I found this template here.http://www.vintageimagecraft.com/support-files/heart_basket_template.pdf  I used a snippet tool to snag the pdf file and copied it and then pasted it into Studio. It traces really well. I believe I used release path in order to fill it in but I'm having a Senior moment.

Although there were directions on the site with the template they did not make sense to me.  I guess I am more of a visual person. Here is a good video. Only wish I could have figured out how to convert the template. 
LOL! One thing about the video is that I could go back and rewind to see where I got off track.

I hope that you enjoyed this tutorial and will make a heart woven basket. This is a fun project for kids and would make a fun family project.

Thank you for stopping by and do come back again.

Saturday, February 4, 2012

O What Fun To Design Card

As mentioned in my previous post  http://craftingfrugalway.blogspot.com/2012/01/design-challenge-frame-valentine-cards.html through the month of February the Silhouette Plus Forum is having a design challenge using a letter. The letter is to be replicated and welded to form a design. This is a card using the letter o to design a flower.  After replicating and welding and replicating what I had welded this is what I came up with.

I replicated it and  deleted the cutouts. Then I replicated it  mirrored and welded the two together to make a card shape. I replicated the original again and resized it so it would be smaller. This is how it looks on my work space in Studio.  I filled in with a Just Lovely paper and added my registration marks so I could print it out. I made sure that none of the design was touching the hatch marks. This is important to get the marks to be read properly.
After it was printed and cut out I pinched and gently folded the cut out flowers.  The smallest one I added an irock gem to. Then adhered it to the larger petal which is pop dotted on the card base, I love how it looks. Let me know what you think? 


Thank you for stopping by and reading all the way through this post. Do come back. If I can figure out how to make a cutting file for making a woven heart basket I will be posting a woven heart basket. Something I used to make as a child.